Before you install
Add at least one visible location, review the design and connect the selected map provider. The Shopify page can be created earlier, but the public map cannot render until the provider key is valid for the storefront domain.
Install the app
Handled Locator is on the Shopify App Store. Installing it adds a Store locator block to your theme editor, so the locator goes on a page without touching code.
- 1
Install and sign in
Install the app from the App Store. It opens inside Shopify admin and shows your site ID; sign in to the locator account you want this store to use. - 2
Add the block
In Online Store → Themes → Customize, open the page that should hold the locator, add a section or block, choose Store locator, and paste the site ID from Embed & Install if the block asks for it. - 3
Save and check
Save the theme, open the page from your storefront, and run Check installation in Handled against the public URL.
The map needs a Mapbox or Google Maps key on the account, added under Embed & Install, before it renders on the storefront.
Or paste the embed
The block is a convenience. The same locator installs on any Shopify page as an HTML embed, which suits a store that would rather not add an app.
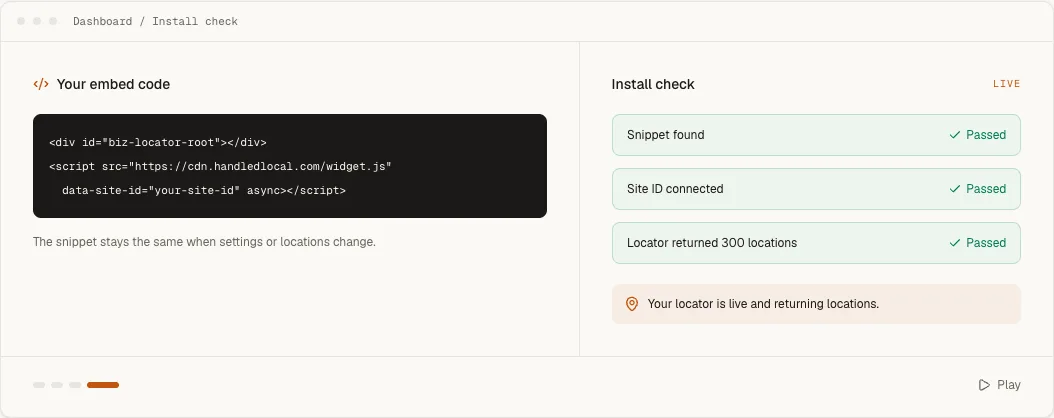
Open Embed & Install, select Shopify, then copy the complete snippet shown for your account. It contains the real site ID; do not copy the placeholder below into production.
<div id="biz-locator-root"></div>
<script
src="https://cdn.handledlocal.com/widget.js"
data-site-id="your-site-id"
async
></script>
Add it to Shopify
- 1
Open the locations page
In Shopify, go to Online Store → Pages and open or create the page that should contain the locator. - 2
Show the HTML
Switch the content editor to Show HTML, then paste the complete Handled snippet where the locator should appear. - 3
Save the page
Save, add the page to storefront navigation if needed, and open the public storefront URL.
Verify the public page
Return to Embed & Install and run Check installation against the exact public URL. Handled checks that the script loads, the site ID is valid, visible locations are returned and a real external view has reached the account.