Before you install
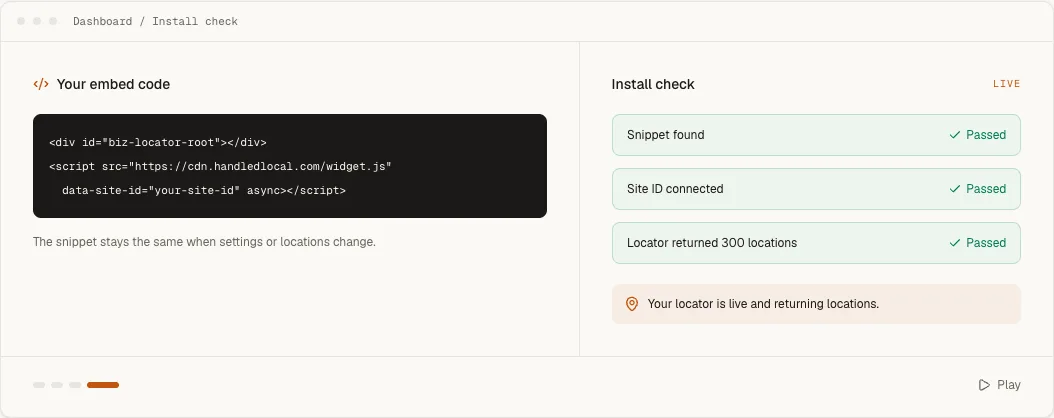
Finish the public location list, locator design and map-provider connection in Handled. Copy the complete snippet from Embed & Install. For a visible locator, use Wix's page-level HTML embed rather than the dashboard's invisible tracking-code area.
<div id="biz-locator-root"></div>
<script src="https://cdn.handledlocal.com/widget.js"
data-site-id="your-site-id" async></script>
Wix describes the visible option in its Embedding a Site or a Widget guide.
Add the HTML embed
- 1
Add the visible element
Open Add Elements, choose Embed Code, then add the HTML or widget embed to the locations page. - 2
Paste the snippet
Choose Embed HTML, paste the complete Handled snippet and apply the change. - 3
Size the element
Stretch the element to the page width available for the locator and give it enough height to show search and results without clipping. - 4
Publish
Publish the Wix site and open the real visitor-facing URL.
Publish and verify
Run Check installation in Handled against the published Wix URL. Test the desktop and mobile layouts because Wix lets the embed element have different dimensions in each editor.
If Wix clips the locator
Increase the HTML element's height in both the desktop and mobile editors. A visible Wix HTML embed runs inside its own frame, so page-level code cannot automatically resize it around changing result counts.