Before you install
Add and review the locations in Handled, finish the visible design and connect a browser key for the selected map provider. Copy the complete snippet from Embed & Install.
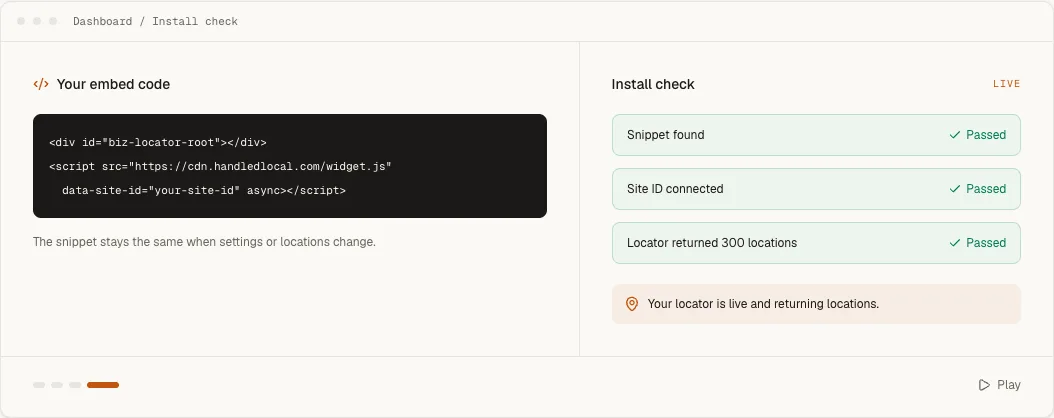
<div id="biz-locator-root"></div>
<script src="https://cdn.handledlocal.com/widget.js"
data-site-id="your-site-id" async></script>
Webflow's Code Embed reference describes its current custom-code availability and supported HTML, CSS and JavaScript.
If your locations already live in a CMS collection, connect it with Webflow CMS sync rather than re-entering them: the locator reads the collection on a schedule and geocodes each item.
Add the Code Embed
- 1
Open the locations page
Open the page in the Webflow Designer and choose the container that should own the locator width. - 2
Add Code Embed
Drag a Code Embed element into that container and paste the complete Handled snippet into its code panel. - 3
Publish the site
Save the embed and publish to the real Webflow domain or connected custom domain.
Publish and verify
Run Check installation in Handled against the exact published URL. Then test a search, a filter and directions on the page itself.
If the embed stays blank
Confirm that the site was republished after the embed changed. Inspect the Code Embed for a complete <script> tag and the real site ID. If the locator is narrower than expected, check the width and overflow rules on its Webflow parent container before changing widget settings.