Before you install
Publish at least one visible location, review the locator design and connect the selected map provider. Copy the complete snippet from Embed & Install. It contains the account's real site ID.
You have two supported WordPress installation paths:
- Install the official Handled Locator plugin for a native block and shortcode.
- Use the hosted embed below in a Custom HTML block when you prefer not to install a plugin.
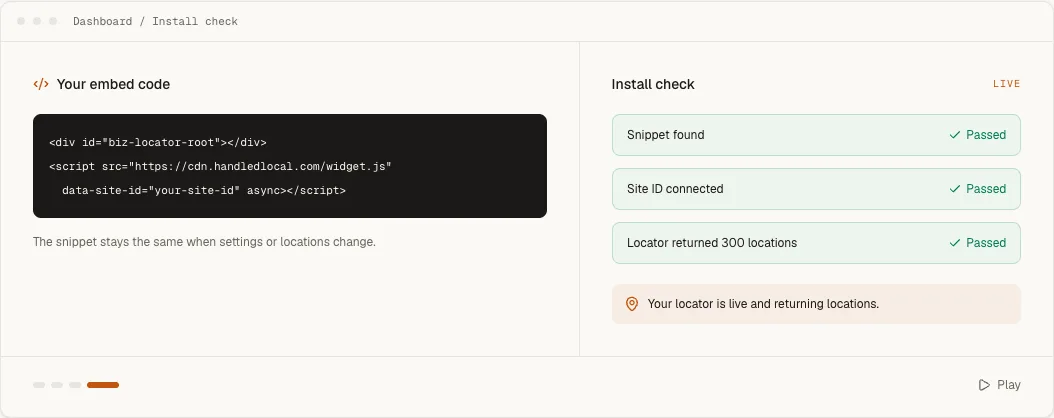
<div id="biz-locator-root"></div>
<script
src="https://cdn.handledlocal.com/widget.js"
data-site-id="your-site-id"
async
></script>
Add the plugin block or Custom HTML block
- 1
Choose your installation path
Install the plugin from WordPress.org and connect your Site ID in Settings Handled Locator, or open the page where the hosted embed should appear. - 2
Add the locator
Insert the Handled Locator block, use the[handled_locator]shortcode, or choose Custom HTML from the Block Inserter for the hosted embed. - 3
Publish and verify
If you used the hosted embed, paste the complete snippet without changing its Site ID. Update or publish the page, then run Check installation in Handled.
WordPress documents the current block controls in its Custom HTML reference.
Publish and verify
Open the public page in a new browser tab. Return to Embed & Install in Handled and run Check installation against that exact URL.
If WordPress removes the script
Inspect the Custom HTML block after saving. If the <script> tag disappeared, the current WordPress user may not have the unfiltered_html capability. Ask a site administrator to add the block or approve the installation. Security plugins and managed hosts can apply additional script restrictions, so test the public page after each save.